

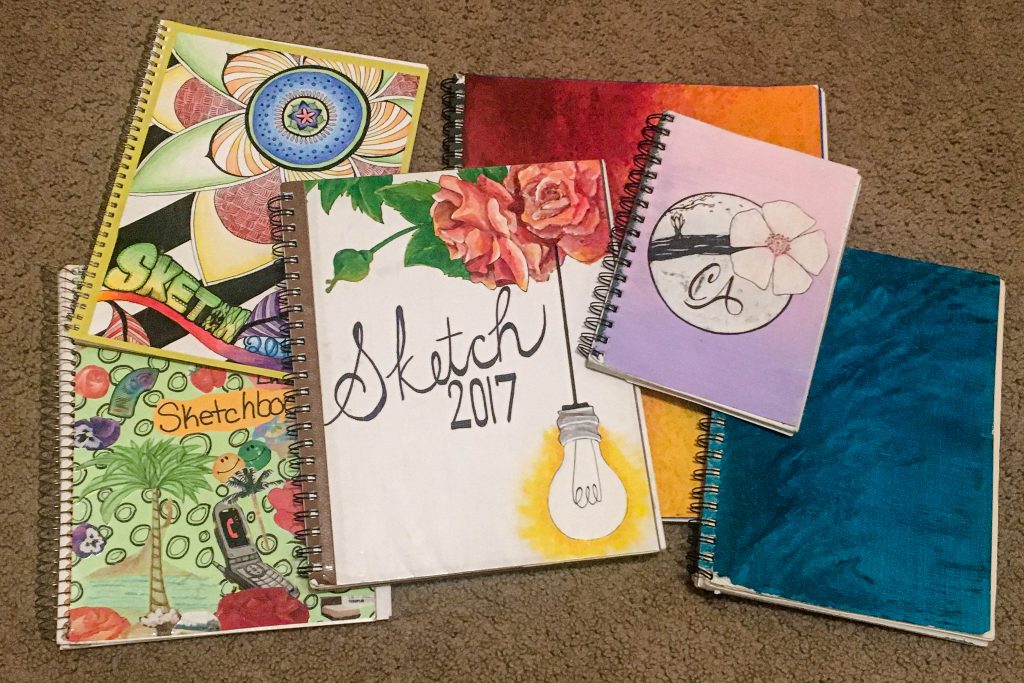
Welcome back creative fam! Designing the covers of my sketchbooks is something I have always enjoyed doing! After a while, if you’re like me and have a mountain of sketchbooks, it’s hard to remember which pieces are in which sketchbooks. Therefore, having a design on the front is a great way to keep yourself inspired and organized. So, I thought I’d share with you all my DIY sketchbook cover design process!
There are many ways to design your cover. In the past I have taken out a piece of paper from the book, designed it, then taped it to the cover, which works fine. My favorite cover designs have been when I painted the the actual cover itself, which is what I will explain in this blog.
Step by Step:
- Buy/Select sketchbook to decorate
- Sketch out cover ideas & pick your favorite design
- Remove cover if on a spiral (optional)
- Paint base color
- Sketch the design on your cover
- Finalize (Paint/Ink/color/etc.)
- Attach the cover back on if removed & enjoy!
Supplies I use in this example: spray paint, acrylic paint, paintbrushes, white colored pencil
Let’s get creative!
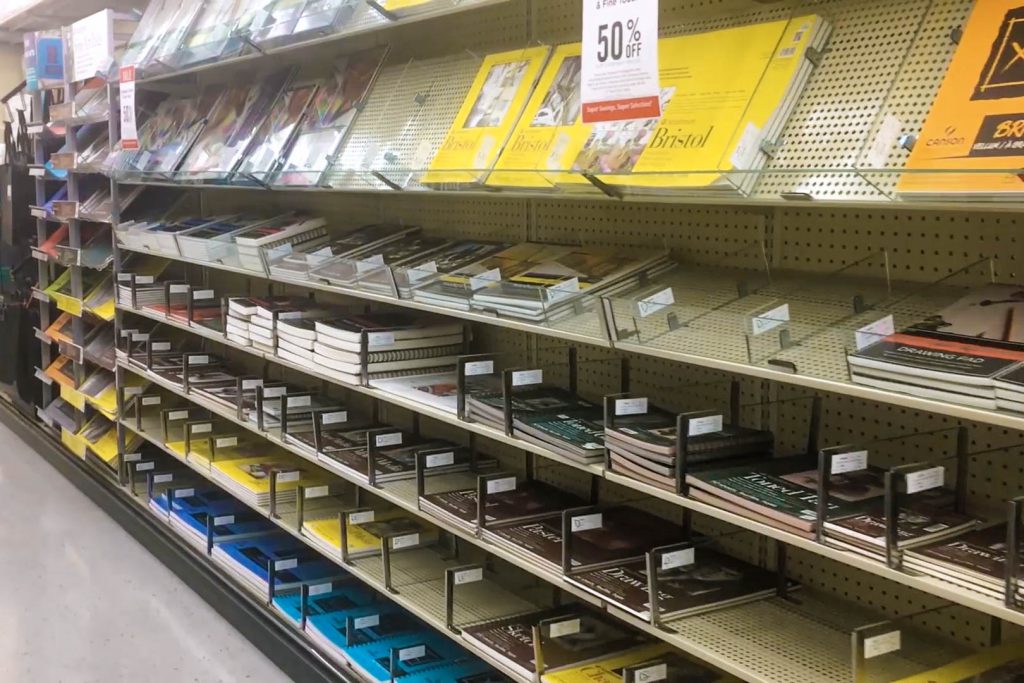
Step 1: Buy/Select sketchbook to decorate
Depending on if you need a new sketchbook you can buy one or use one you already have. I wanted a new watercolor sketchbook so I am using a new one in this example. Having a spiral sketchbook can make decorating a little easier because it can be removed but it isn’t necessary.
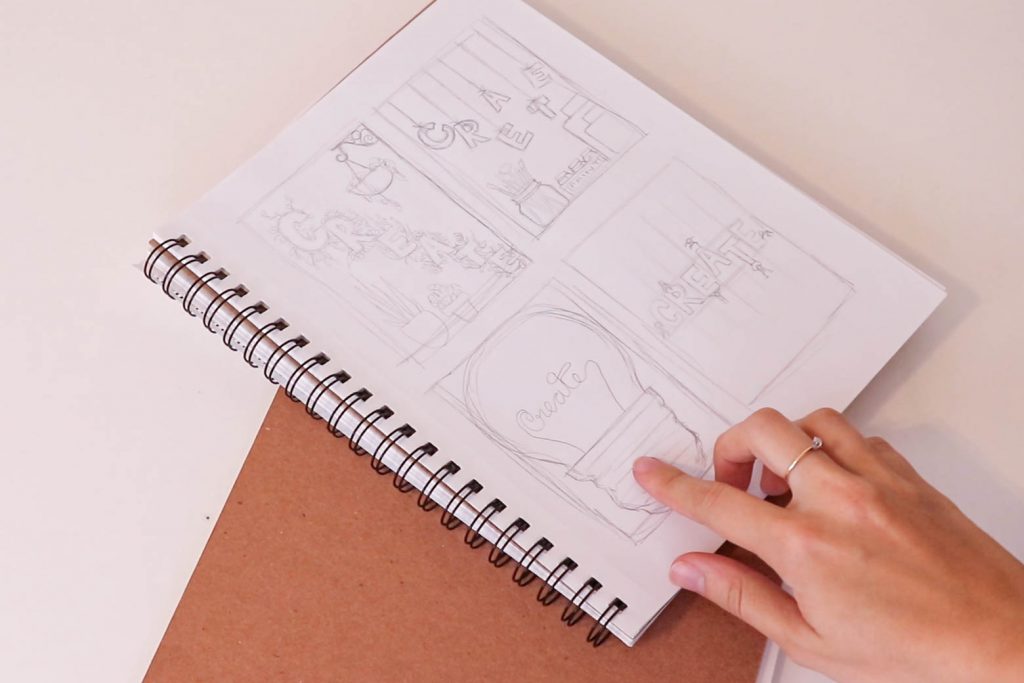
Step 2: Sketch out cover ideas & pick your favorite design
I usually sketch out a few ideas before I pick one to make sure I have the one I like best. It also gives me more ideas for covers in the future or a piece I’d like to create by itself.
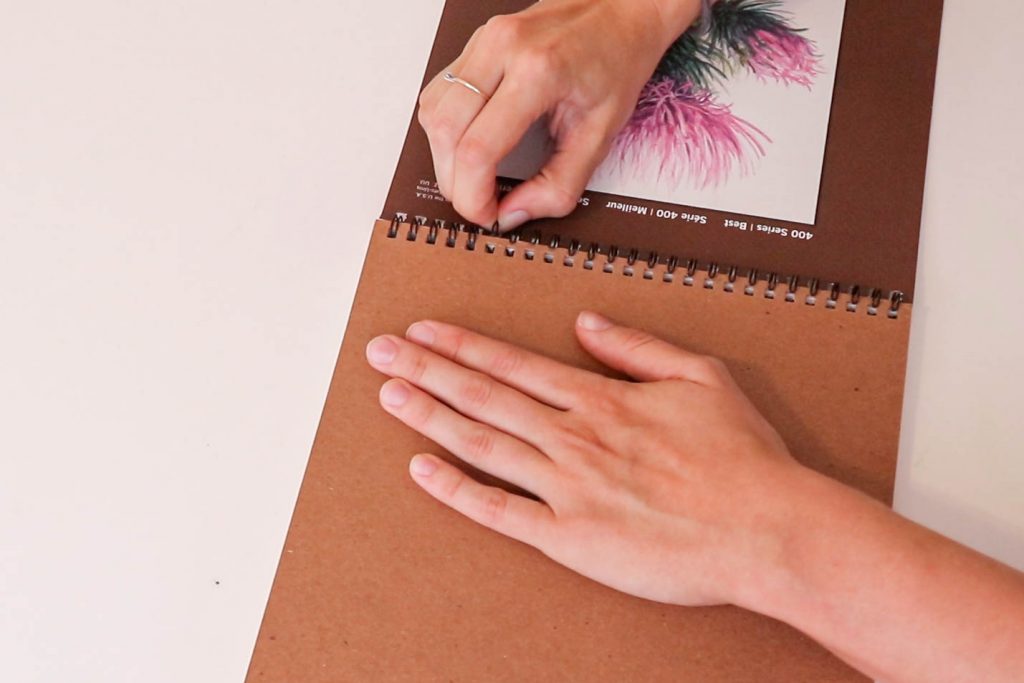
Step 3: Remove cover if on a spiral (optional)
You don’t have to do this step if you don’t want to, or if you don’t have a removable cover. It makes it a bit easier when painting so I went ahead and removed it. It is pretty easy to remove, just flip your sketchbook over and loosen the wire, then your cover should be able to slide right off.
If you are not removing your cover and you’re painting it, make sure to keep a piece of paper between the cover and the first page so you don’t accidentally mark on your first page. I would also encourage taping off the binding.
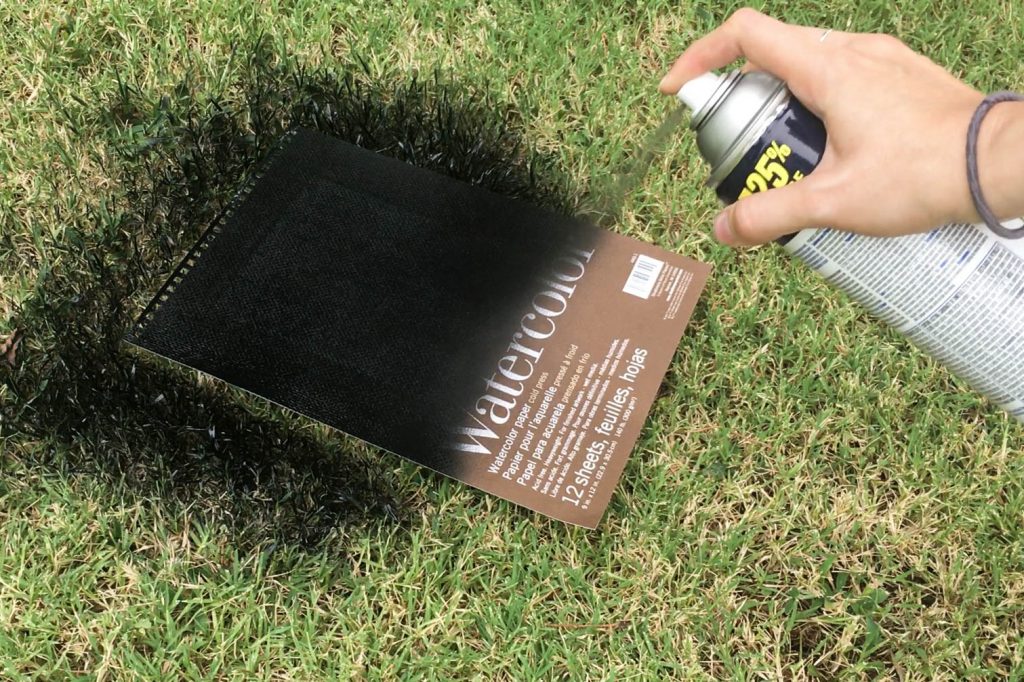
Step 4: Paint base color
It is a lot easier for me to design on a clean background, which most sketchbooks don’t have. For this step I decided to spray paint my cover black. I used about 2 or 3 layers to completely cover it. You can also use acrylic paint if you prefer that method.
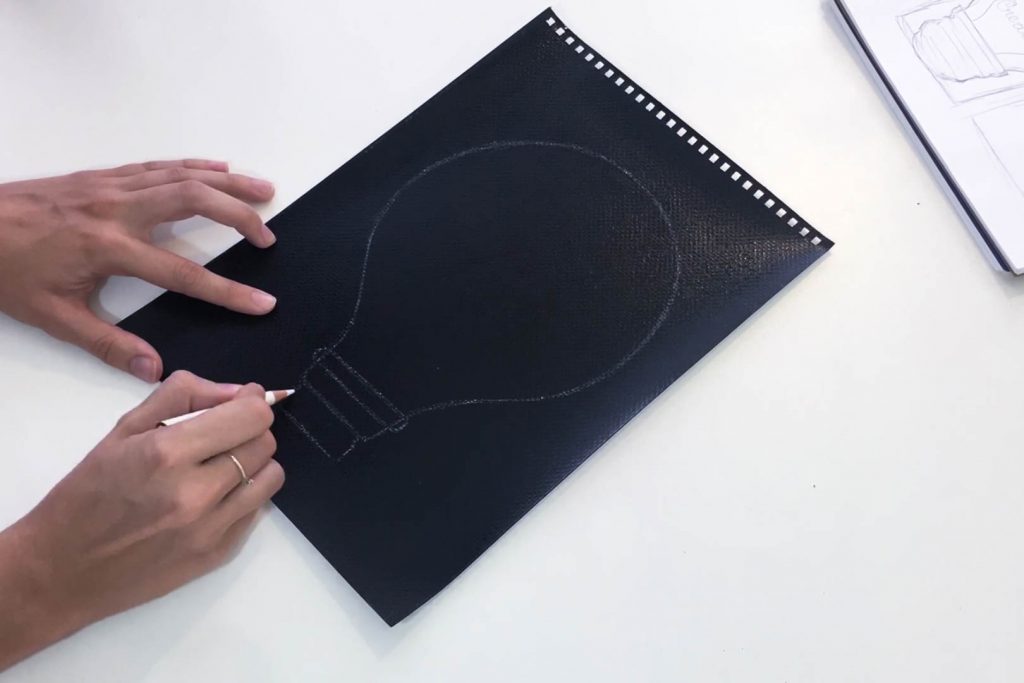
Step 5: Sketch the design on your cover
Depending on what your design is you will want to sketch out where to paint. For my design of the lightbulb and script I definitely wanted a guide to paint by instead of winging it. But hey, you can be brave and skip this if you want. 😉
I sketched on top of my black spray paint with a white colored pencil.
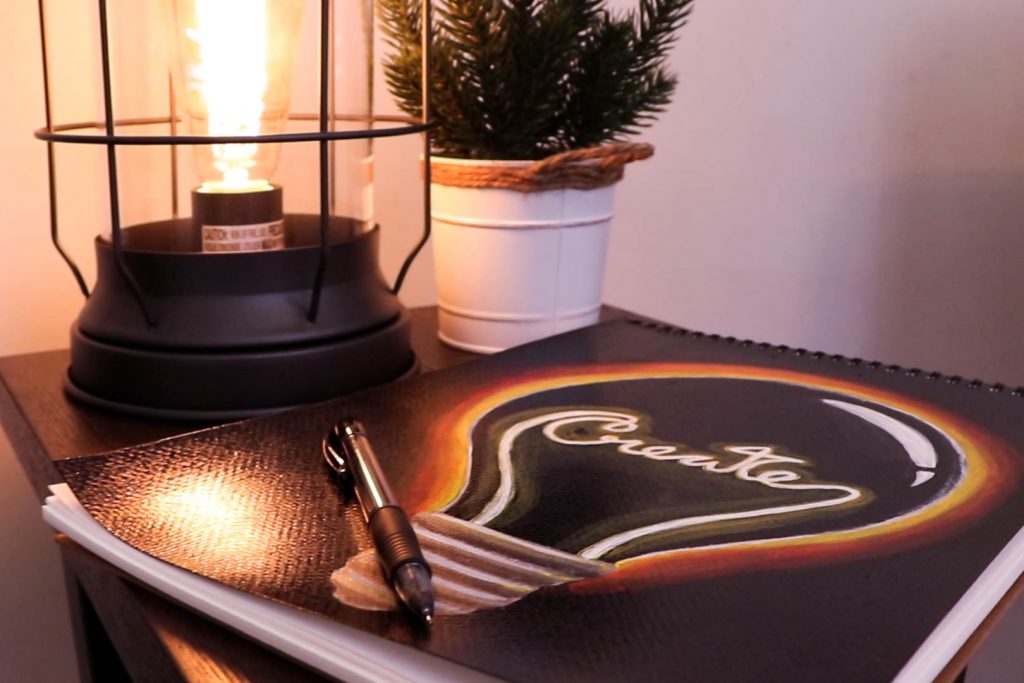
Step 6: Finalize (Paint/Ink/color/etc.)
To finalize my design I am using acrylic paint. I used white, yellow, orange, and red paint for the glowing parts, and then silver and black for the bottom of the bulb.

Step 7: Attach the cover back on if removed & enjoy!
To put the cover back on, slide it back into its place and tighten the wire back. Your cover is done!! Now you can fill up the pages with more amazing artwork! Have fun!
Check out the video on my YouTube channel!
Let me know if you have designed a sketchbook cover before or if you are going to! I’d love to hear about your experience!
Instagram: @christinaannstudios
Facebook: @christinaannstudios.art
DeviantArt: @christinaannstudios
Email: studioschristina@gmail.com
If you’re new here, welcome to Christina Ann Studios! I am so pumped about this opportunity to grow as an artist with you. Christina Ann Studios is basically where I share my artwork and inspiration with you guys. I will be posting blogs 2+ times a month about a variety of fun art projects and ideas. You can also check out my new YouTube channel where I make all sorts of art related videos like how-to’s, tutorials, lessons, speed paints, and DIY projects. My work mostly includes watercolor, acrylic, sketchbook work, and digital painting. I would love for you to get involved and I will always try to respond to your comments on all my social media accounts! Love you creative fam!
Till next time,
Christina
What’s up, just wanted to mention, I enjoyed this post.
It was funny. Keep on posting!
I’ve been surfing online more than 2 hours today, yet I never found any interesting article like yours.
It’s pretty worth enough for me. Personally, if all website owners and bloggers made good content as you did,
the internet will be a lot more useful than ever before.
I could not resist commenting. Very well written! I could not resist commenting.
Very well written! http://cspan.org/
Made this tonight for the 1st time.
Wow! Finally I got a web site from where I know how to truly take useful data regarding my
study and knowledge.
Wow, this piece of writing is good, my younger sister is analyzing these kinds of
things, so I am going to inform her.
Pretty nice post. I simply stumbled upon your blog and wanted to
say that I have really enjoyed browsing your blog posts.
After all I will be subscribing on your feed and I’m hoping you
write once more soon!
Aw, this was a really good post. Taking a few minutes and actual effort to
generate a good article… but what can I say… I put thigs off a
lot aand don’t manage to get nearly anything done.